Monero GUI software installation and maintenance guide for Linux
Monero GUI is a wallet for managing Monero cryptocurrency. The tutorial describes how to install and generate a wallet and send and receive funds.
Installation of Monero GUI software via Flatpak #
For Linux systems, installation via Flatpak is the recommended method. It does not require verification of checksums and PGP signatures. For user application installation, Flatpak does not require elevated privileges, the following steps can be performed in a default user session.
-
The Flatpak tool is installed by default in many Linux distributions, including available in Whonix-Workstation 18. If the flatpak command is not available in the console, install Flatpak according to the instructions for your chosen distribution.
-
Add the Flathub repository, set the visibility of FLOSS applications (Free/Libre and Open Source Software, i.e., free software), and install the org.getmonero.Monero package with the commands:
|
|
Because all connections are anonymized in Whonix-Workstation, application installation may take longer, and the occasional [28] Timeout was reached error may require you to repeat the last command several times.
- You can launch the application using the shortcut in the applications menu or with the command:
|
|
On Qubes OS, for an app qube created from the whonix-workstation-18 template (for example, the default anon-whonix), after installing the application, click Refresh applications in the Settings→Applications menu, wait for synchronization to complete, then check Monero GUI in the All available applications list, click > to move the application to the Applications shown in App Menu list, and confirm the changes by clicking OK. The application shortcut will be visible in the Qubes system menu for the selected app qube.
Generating a wallet #
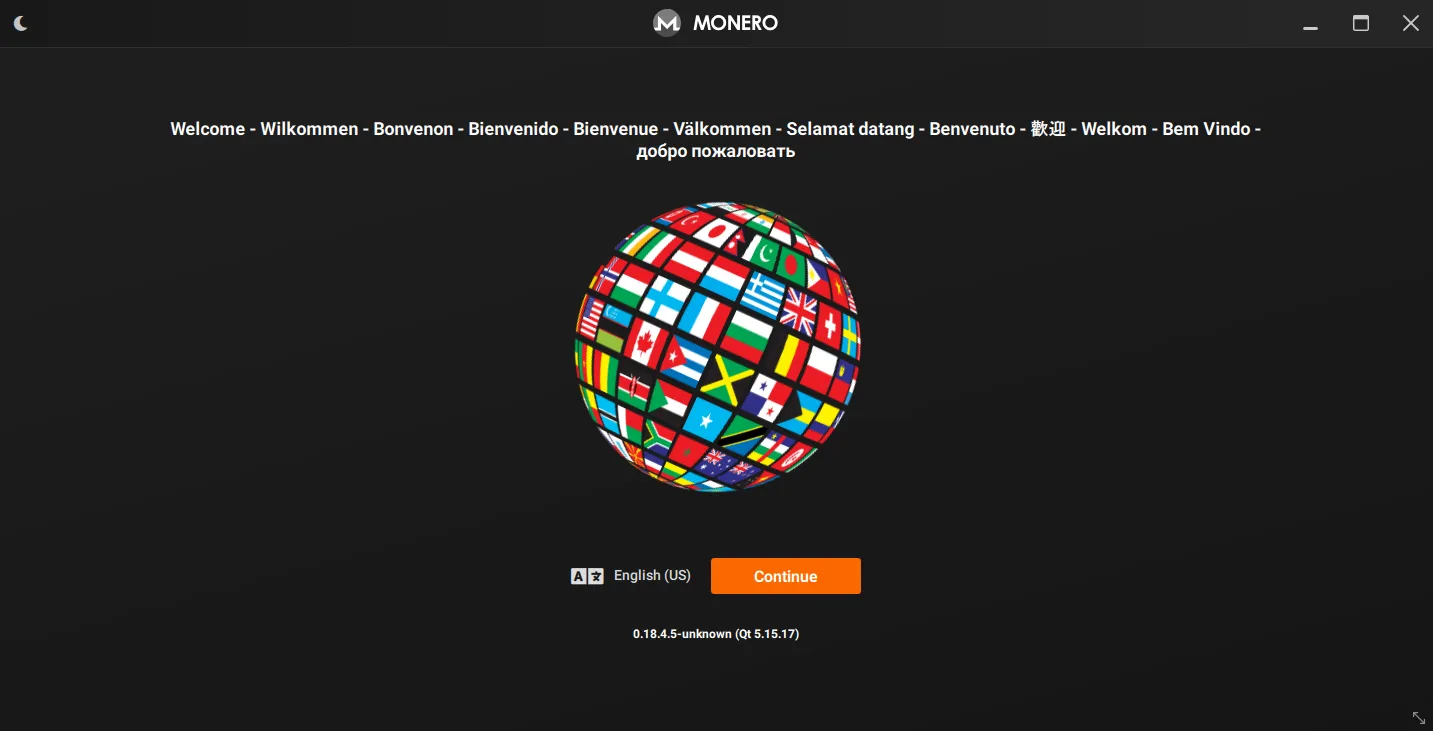
- Click Continue.
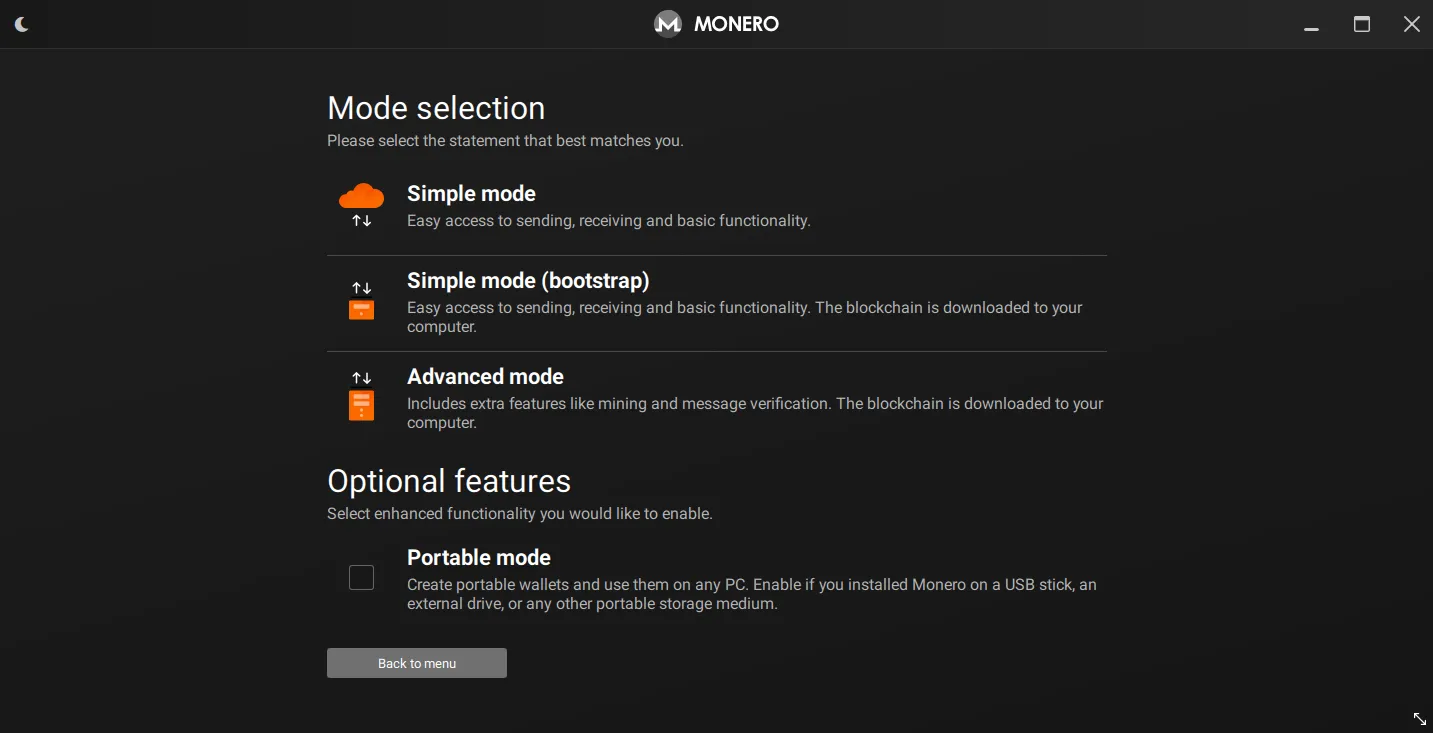
- Select Simple mode.
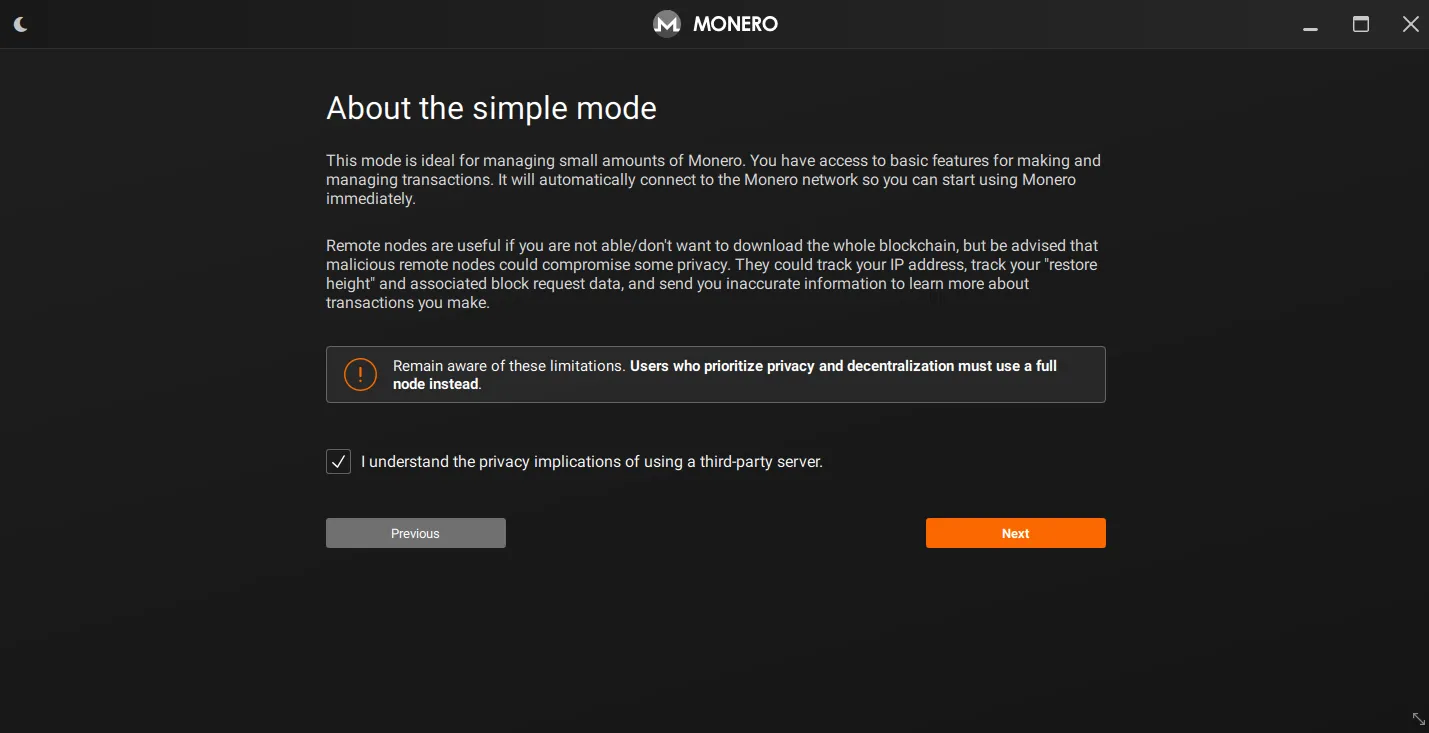
- Select I understand the privacy implications of using a third party server and click Next.
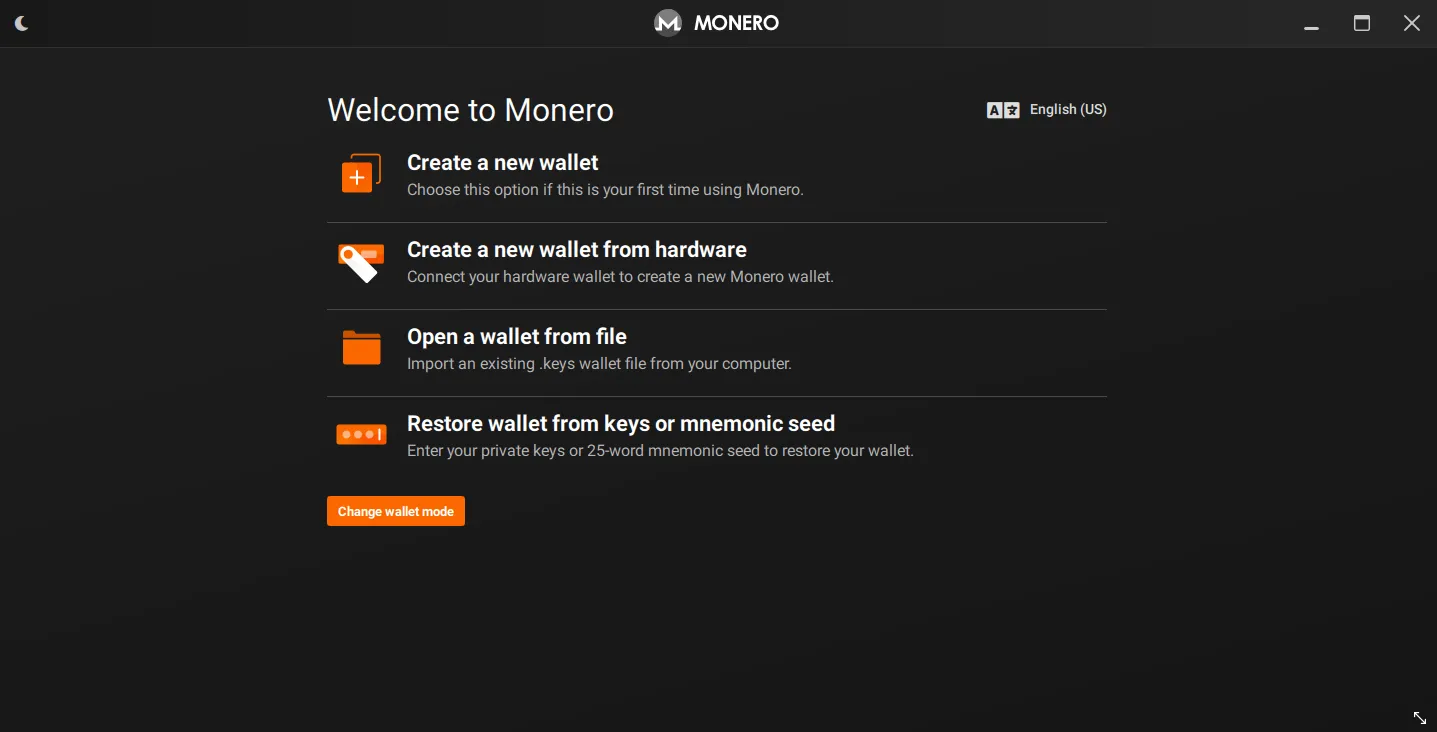
- Click Create a new wallet.
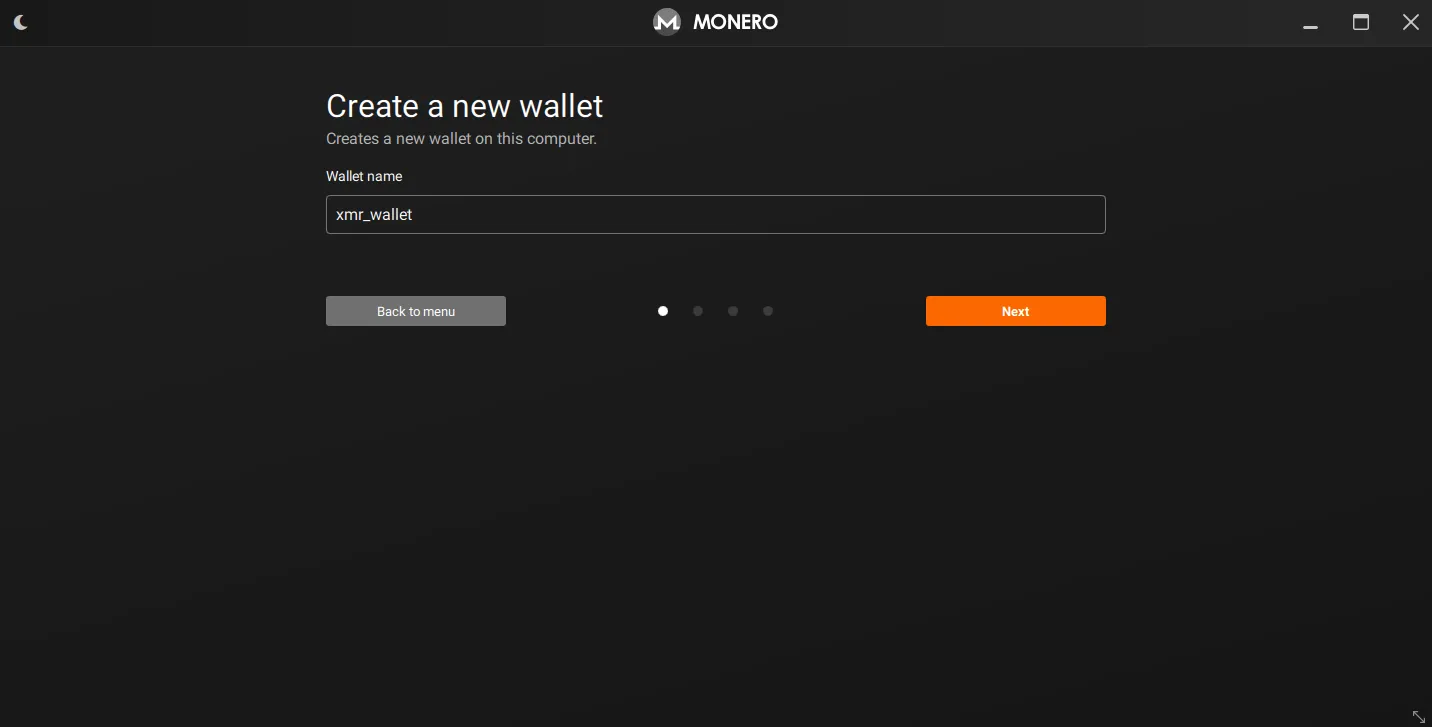
- Choose a name and click Next.
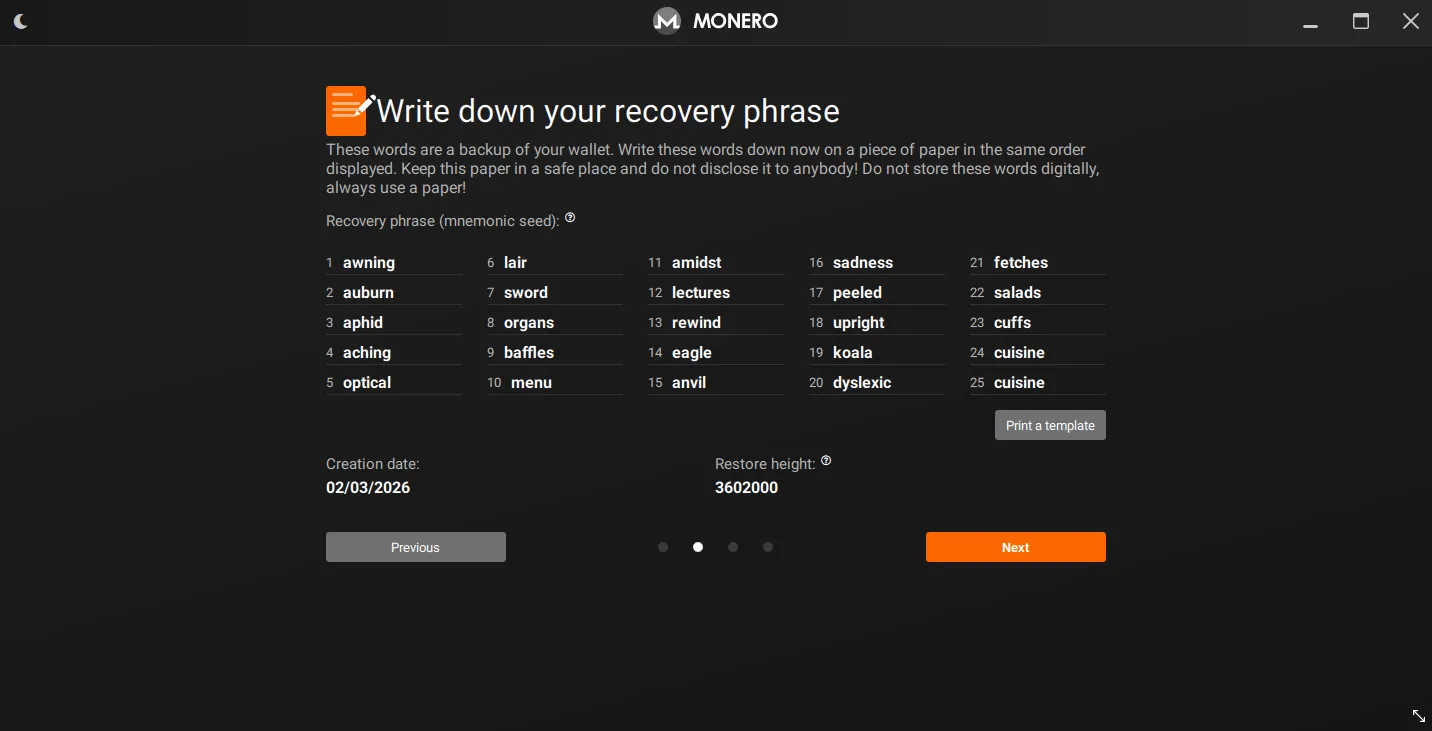
- The recovery phrase will be displayed; this is the security phrase. It should be saved in a safe place along with the date of wallet creation and the node size, for example, on an external USB drive encrypted with Veracrypt, Truecrypt, or LUKS. If you need to recover, you will be asked for a security phrase to recover the wallet along with its creation date. The creation date or node size is required to retrieve the correct amount of blocks from the Monero network. Providing too late a date during recovery may result in an incorrect amount of funds displayed in the wallet. Write down the creation date, node size, and security phrase in exactly the order as displayed on the screen. Click Next and fill in the missing fields, then click Next again.
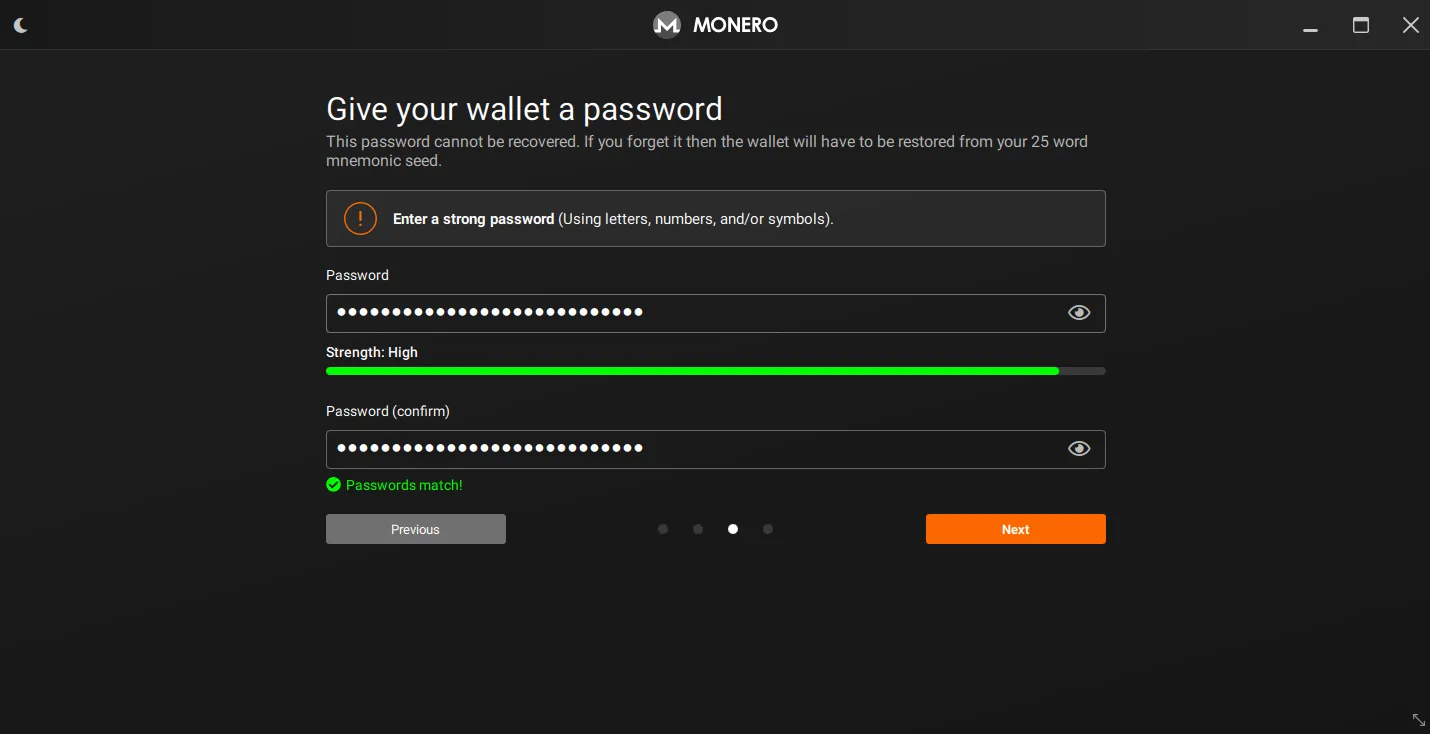
- Choose the password that will be necessary to open your wallet file and click Next.
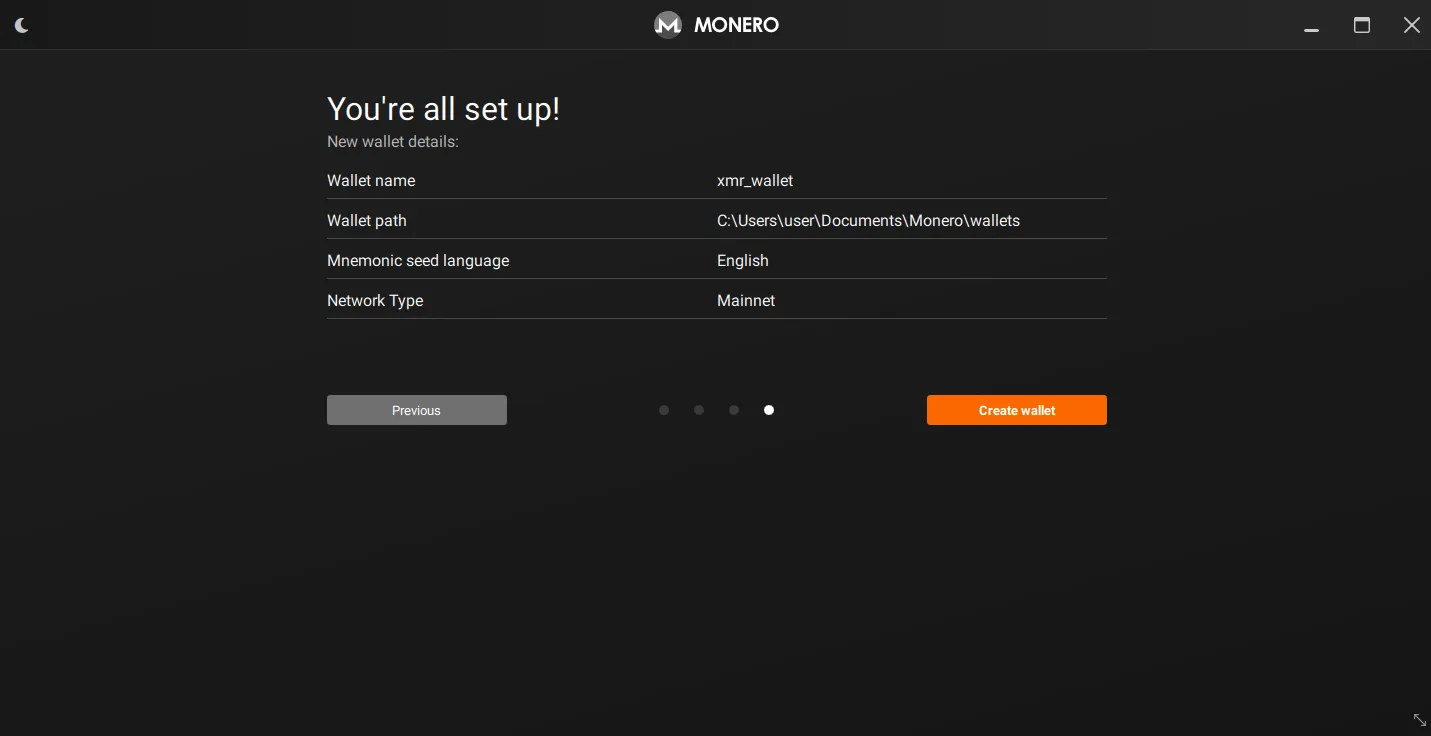
- Click Create wallet.
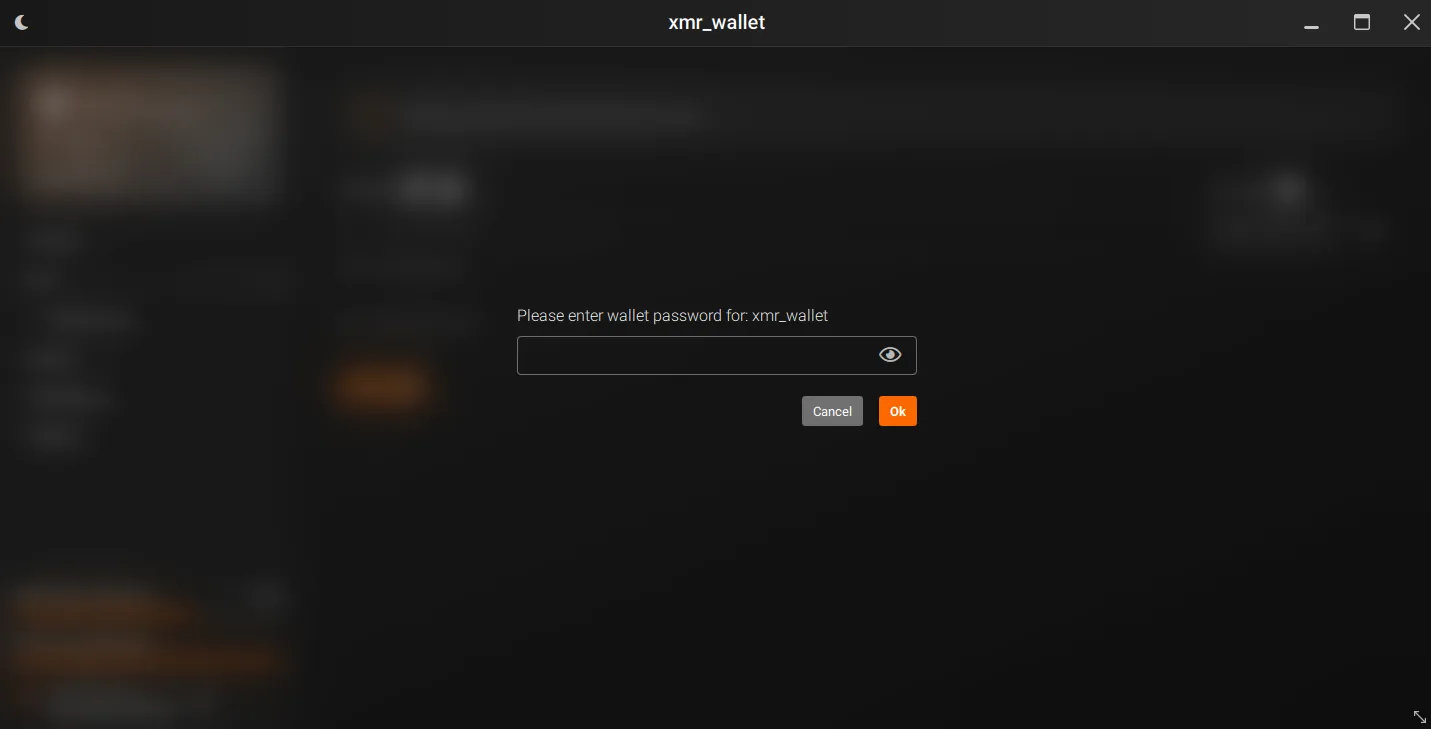
- Enter the password.
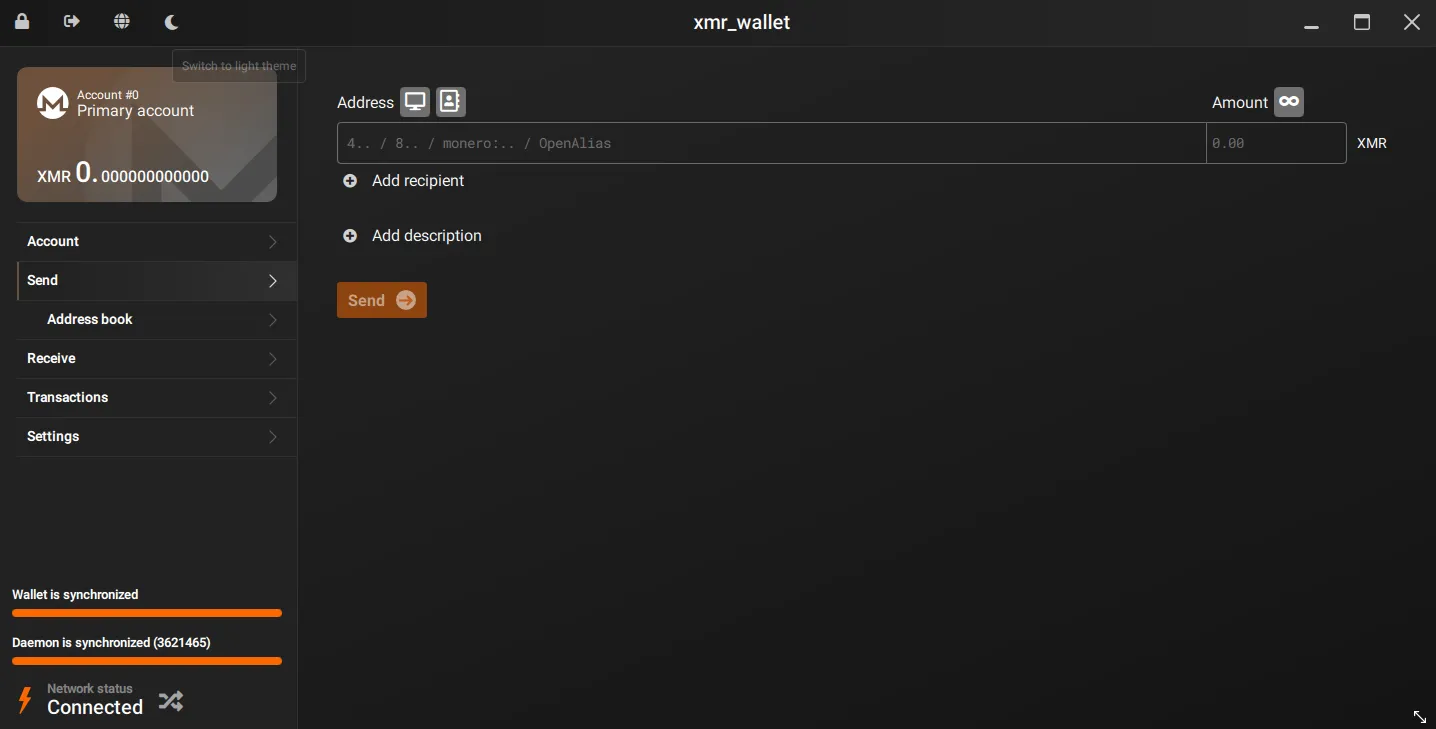
- Wait for the information to be retrieved from the node, which will be announced by the text Wallet is synchronized in the lower left corner. This may take some time during the first launch.
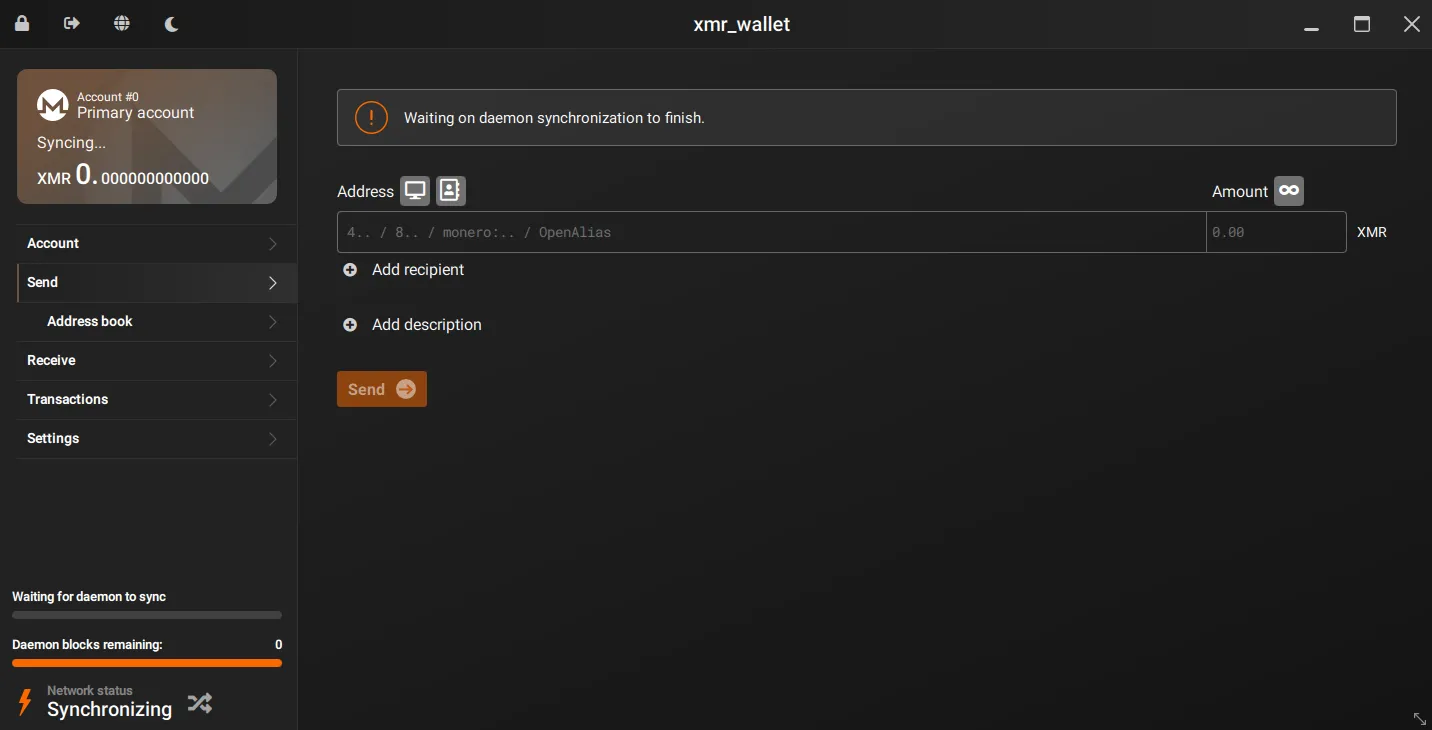
- In case of connection problems, click the crossed arrow icon next to the status in the lower left corner. This will cause a switch to another remote node.
Receiving funds #
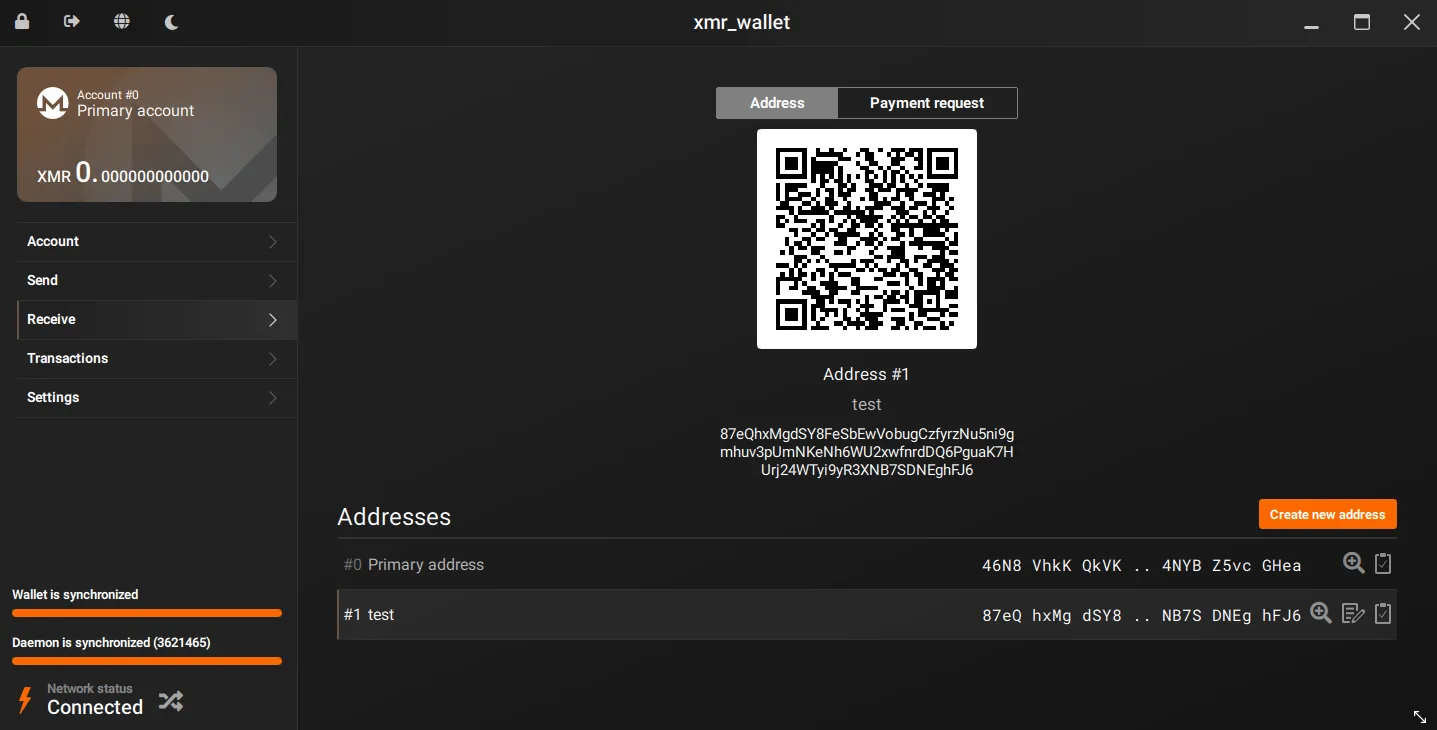
- Go to the Receive tab. There will be a list of your Monero addresses used to receive funds. You can generate new subaddresses by clicking Create new address. It is a good idea to use subaddresses once and generate a new one for each transaction, so that you take maximum care of your funds’ privacy. All incoming transactions to any of the subaddresses add up, and their balance is common to the entire account.
-
To receive funds, copy your address by clicking on the clipboard icon at the end of each line with the address. Then paste it in the place where you want to receive the funds, for example, in the appropriate section of the exchange, or by sending it to the appropriate person.
-
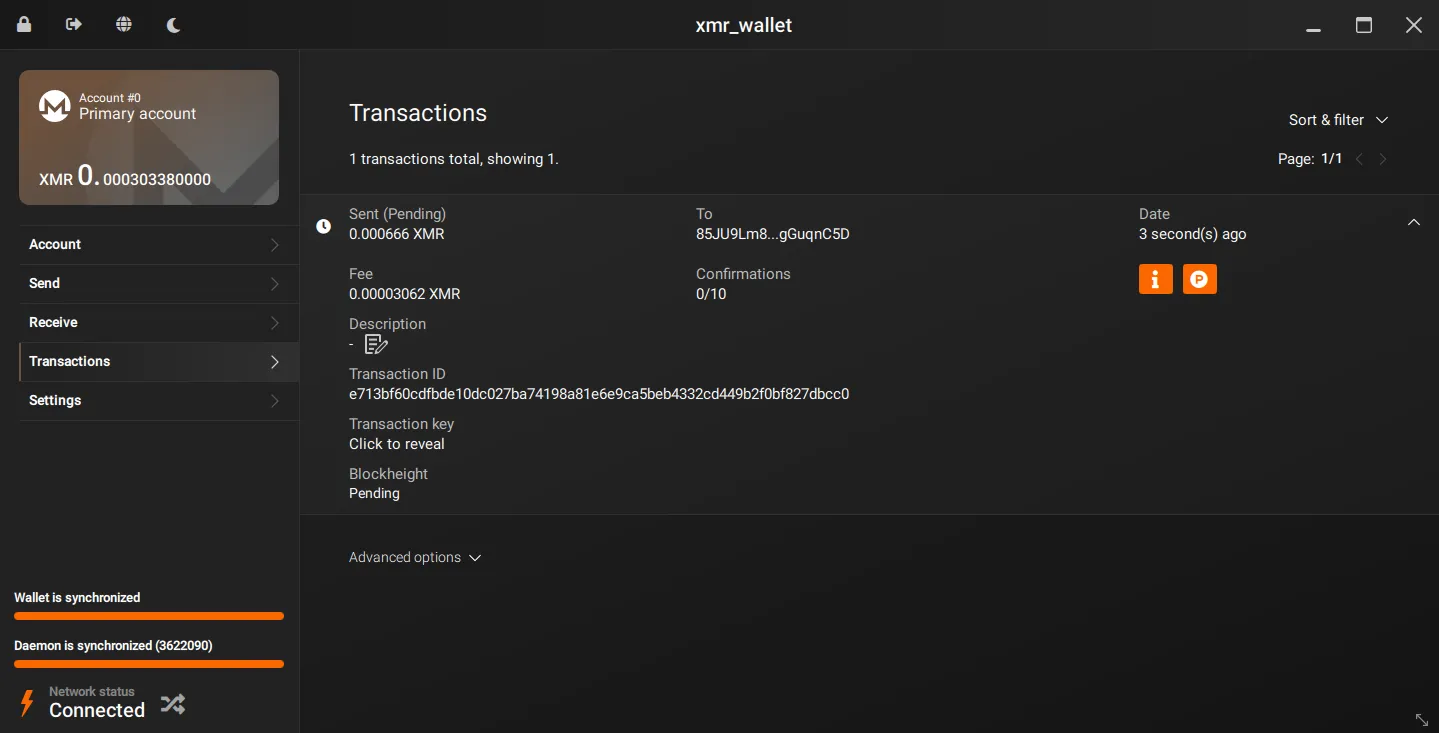
After receiving the funds, click on the Transactions tab. The entire history of funds received and sent will be displayed.
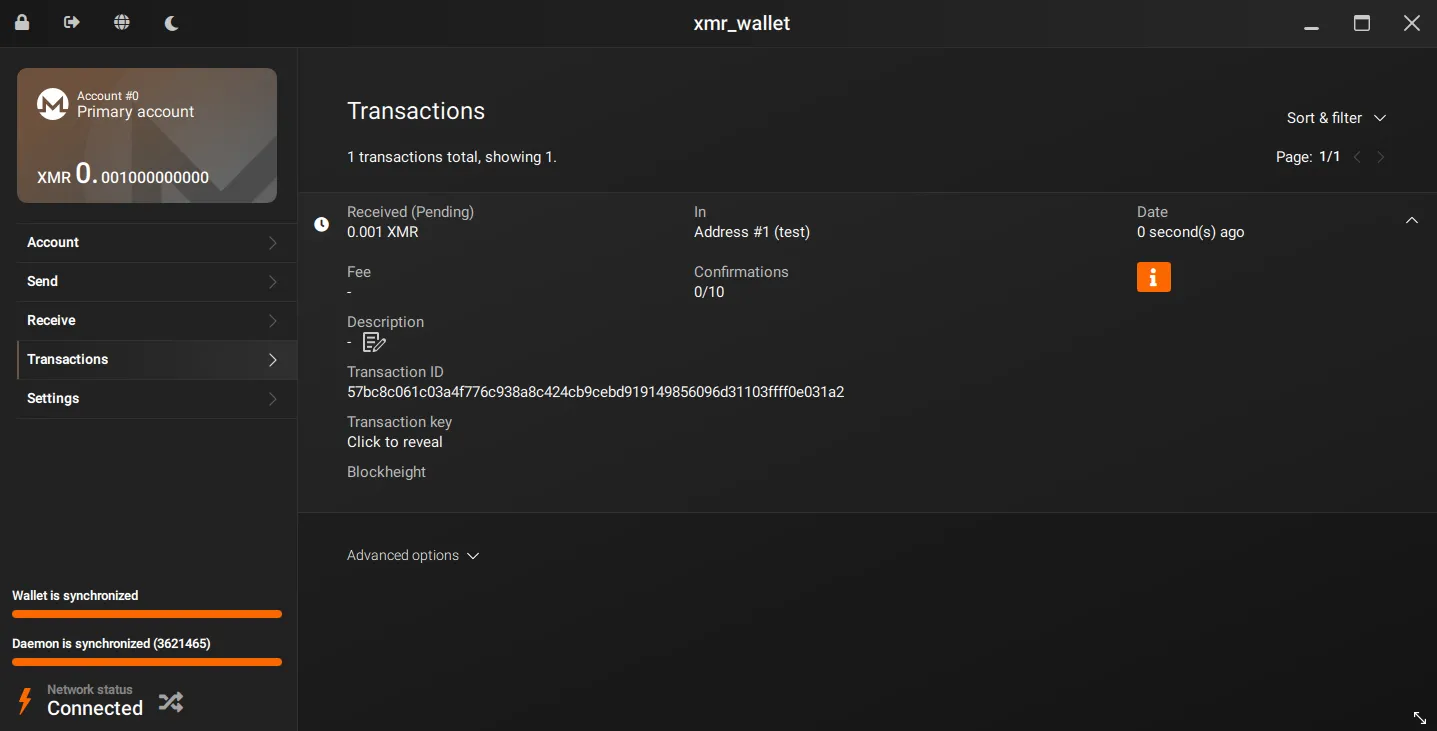
- You must wait for 10 confirmations from the Monero network before sending the received funds. The confirmation counter can be followed on the fly under the Confirmations row.
Sending funds #
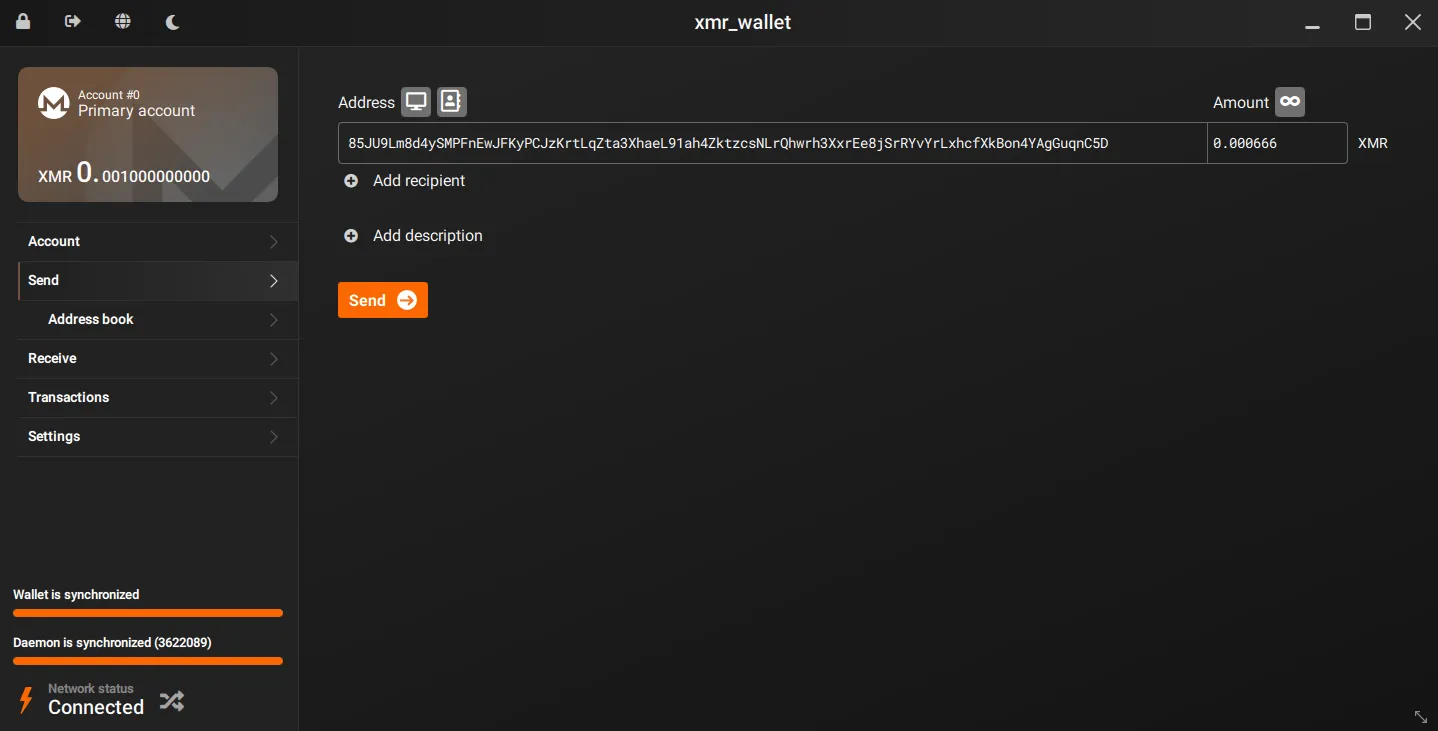
- To send funds, go to the Send tab. Under Address, paste the destination Monero address; under Amount, enter the amount and click Send.
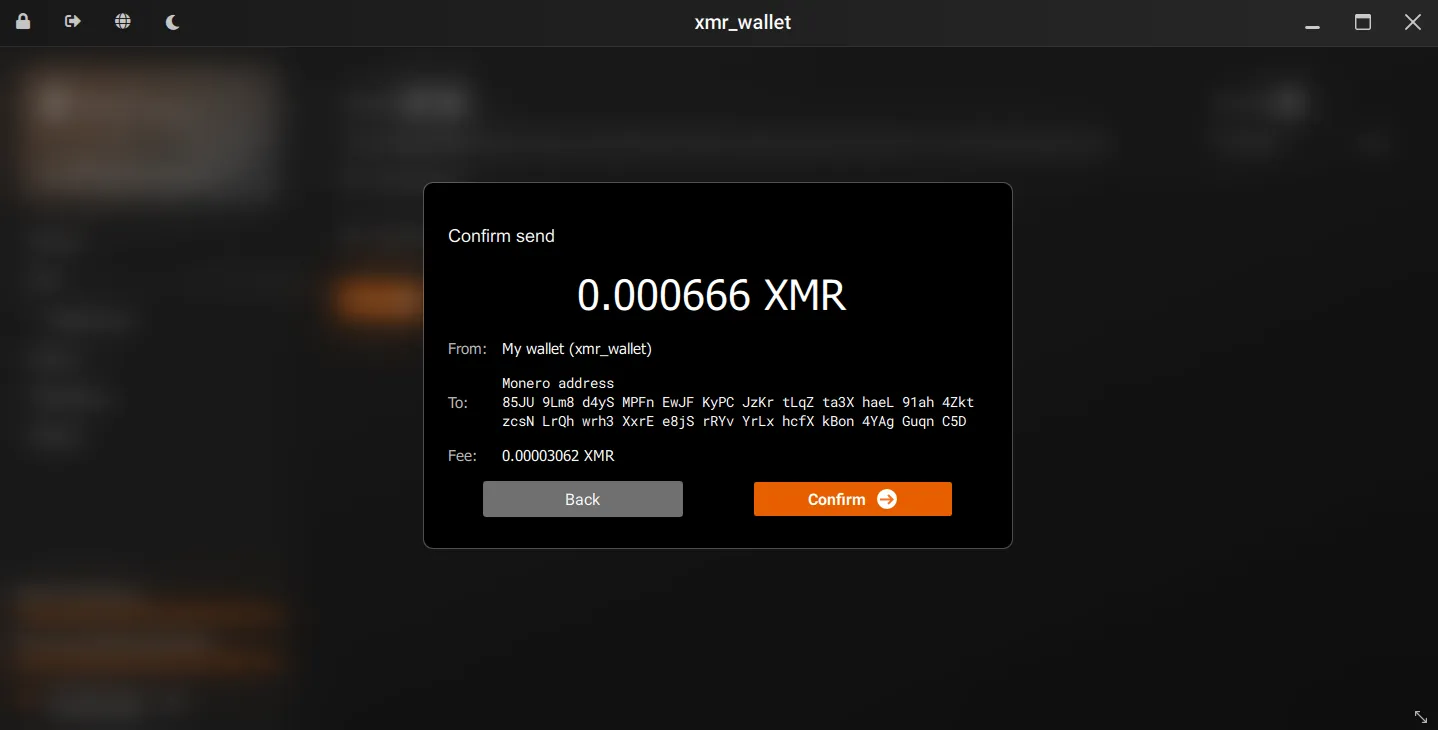
- After a few seconds, a confirmation window will be displayed. Before confirming the sending, make sure you have entered the correct Monero destination address. Verify the Fee amount; it should be a few cents. After verifying the transaction details, click Confirm.
WARNING: This action cannot be undone. Providing an incorrect address may result in loss of funds.
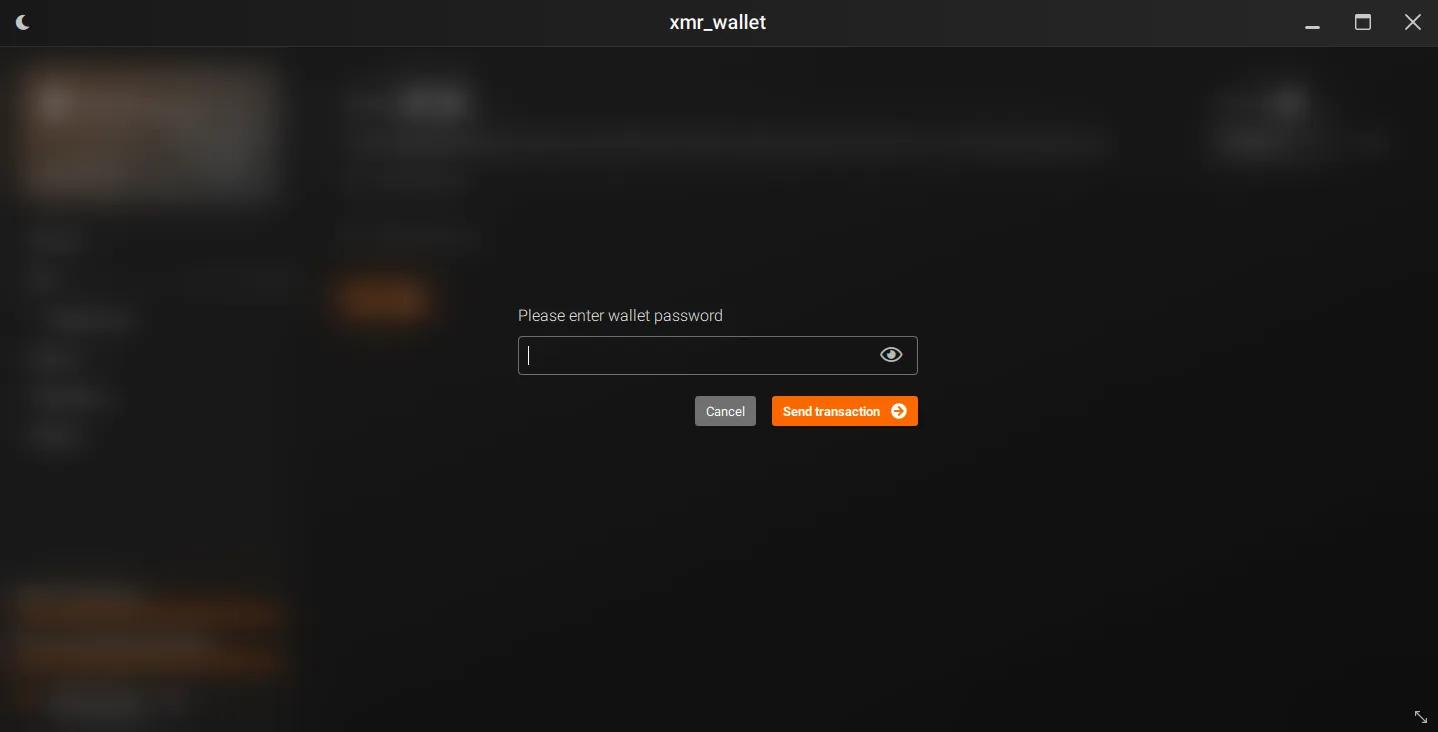
- Enter the password and click Send Transaction.
- A message will appear at the top of the screen informing you of the available balance. Before further use of your address after sending funds, wait for 10 confirmations from the Monero network.